How to edit videos to ensure YouTube's success Blog
Explore Classes on YouTube
Editing, creating stories, followers, and other things.
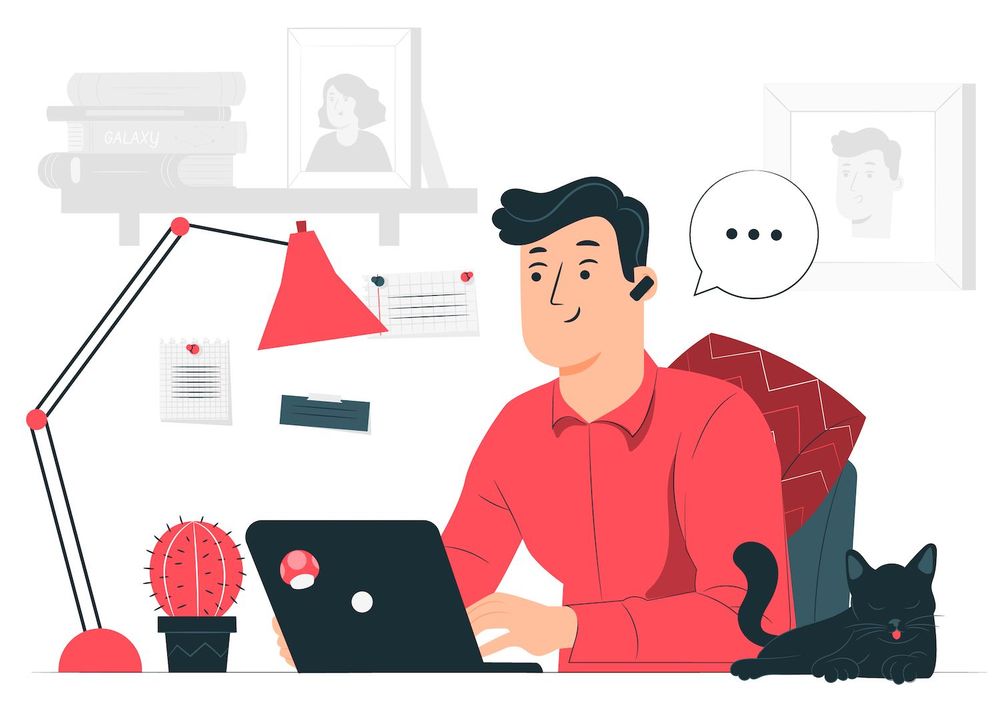
It's time to start your own YouTube channel. It's huge! It's the start of a very exciting and enjoyable experience. If you've seen YouTube channels of others You'll see that editing is a key element in how a video will achieve its goals. If you edit your videos for YouTube, you have the ability to present your story in a fun and captivating manner that can make your viewers want to watch to see more.
Now let's go over the fundamentals. In this piece we'll take a look at some of the most popular YouTube video editing software that you could make use of in addition to a discussion of the ways to edit your video the first time you upload a video.
Let's get started!
Quick Links
Editing Software Options
Here are the five most popular video editing tools as well as tutorials to help you understand the ins and outs of these:
An all-inclusive video editing program that can be used by beginners and professionals; available to both Mac as well as PC users. Adobe Premiere Elements is a smaller version of Premiere Pro, aimed at beginners.
Complete video editing tools created by Apple and is available only on Mac computers.
A powerful, budget-friendly tool for video editing aimed at professional video editors.
A highly effective software for editing videos, especially for people who do a lot of work involved in color grading. The free version is accessible.
How do you edit videos on YouTube
If not, let's look at an overview of the editing process involves and how you can edit binge-worthy YouTube videos, no matter what program you select.
Step 1. Sort Your Film
Step 2. Assemble the piece and Make the rough cut
Input all the raw video files into the editor and place them in the proper sequence. This is also an chance to create rough cuts for:
- Remove any video you won't be using
- The film you want to keep must be cut so making sure that only those parts that are important remain
- If you make any mistake, or are uncomfortable, avoid pausing
3. Fine Cut
Check the video repeatedly and make minor changes. Take note of the pace of your video. Does it retain your attention? Is it difficult to watch or does it slow down at certain points? Cut clips that appear longer than they should be and ensure that the transitions between clips to the next one are smooth and natural.
Step 4: Incorporate Effects and Transitions
Depending on the style of your movie, based on the design of your film it is possible to incorporate transitions between the clips. A popular option that works well to keep the audience interested is to let the beginning clip slide towards one side and the following one slide towards the other direction.
You can also create intriguing effects. For example, if you're trying to make people notice something, you can use an effect that slows down zooming for a certain amount of time.
Step 5: Color Correct
It could include video that was shot at different times of day, in different lighting conditions, as well as possibly using various cameras. In order to make them appear consistent across all of them you must colour correct. In this process, you'll alter the saturation of each video along with temperature, brightness and contrast. Color correction is also used to bring out specific colors and give your footage a more cinematic look and feel.
Step 6, Step 6: Include the music
An excellent soundtrack can create an atmosphere that is unique to your video, create a sense of emotion from the audience and make your film more entertaining. If you're working on an audio clip that has many people talking about it, it is possible to add the music of a few musicians into the background.
Step 7: Mix Your Sound
Certain videos may be louder than others. This means that you'll have modify their volume in order to ensure that everything sounds clear and cohesive. You may also be talking with b-roll, and you'll need to decrease the volume on the b-roll until it is at a low level. If you're listening to music, and would like to play on its volume levels, turn it up when no one is speaking and then reduce it when the listener requires attention to another thing.
Step 8: Add the titles and text call-outs
To keep viewers interested To keep viewers at bay, it is possible to introduce a screen to every video segment. If you have crucial information that you want viewers to recall, add it in the form of text on the screen. Apart from the titles and texts, you may include animations or other effects in order to make the video more entertaining.
Step 9: Insert an Outro and Intro
You must leave plenty of the time and space to make an intro video. This is the place to advertise your other content, or invite viewers to share your content by commenting, liking and join your channel.
Step 10: Design an image
If your thumbnail is going to be inspired by the screenshot of the video, this is the perfect time to snap that picture. It's possible to incorporate other elements of design, including text and images in order to draw interested viewers' attention.
Begin Your Very First Video
After you've learned the fundamentals once you've mastered the basics, you're ready to begin your own journey to edit videos to ensure YouTube successfulness. Remember that your YouTube videos don't have to be perfect right when you begin editing your YouTube videos, it'll become easier to master this and will create your unique style.
We can't wait to see what your ideas will be!

Be a part of the fun with thousands of viewers
YouTube's Success Make an authentic YouTube Channel that's worth the Attention
This post was posted on here